


Saving Time in a Plant-Based Kitchen: A Step-by-Step Guide
 Jul 08, 2020
MAKE UP YOUR MIND
It’s important to reflect on why cooking at home and being efficient is important to you. If you haven’t decided why you’re doing something, you’re not likely to follow through. Like the time I decided to start stretching daily. It wasn’t until I wrote out what would likely happen if I did not do this: neck and back pain, tight hip flexor muscles and feeling unmotivated to do things like hike versus the benefits of doing it: daily physical relaxation which leads to less daily pain and connecting mind to body. Ask yourself:
- What will happen if I make this a priority? What will happen if I do not?
- Why is this important to me right now? What will happen if I delay this 6 months?
- Who will I ask for support?

MAKE A PLAN
Having a plan saves you time and mental space. Think of all the relaxation to be had if you already knew what’s for dinner?! So, how do we go about this?
- If you are taking input from your family or housemates, gather them while you plan. This will keep them engaged and invested in at-home cooking.
- Write a list of meals that you can already know, plant-based or not.
- If you don’t have any on the list that are plant-based, think about how they could become plant-based before diving into 10 different vegan cookbooks (that’s a recipe for feeling overwhelmed!). For example swap out the beef in your stir fry for tofu, like in this recipe: peanuty tofu, or go for roasted savory chickpeas instead of chicken on your salad. Keep in mind, if you adapt or learn 2 new recipes a month, that give you 24 new meal choices by the end of the year!
Planning by paper:
- Use our planning sheets and chart out 4-weeks at a time. Trust me, it is easier to do 4-weeks at a time instead of 4-weeks in a row. If you’re curious, mine looks like this.
- Start with the dinner meals, then lunch and breakfast. Finally, fill in snacks and miscellaneous items like coffee and tea
- Write out all of the ingredients you’ll need. From there, on week 1, cross off items you already have (this is quite satisfying!). Boom, you have your grocery list! Wait until you grocery shop for week 2-4 to cross items off.
Planning by App:
- If you enjoy finding recipes online, using an online recipe organizer is a no-brainer.
- The Paprika App lets your organize recipes, add them to your plan and generates an ingredient list. Easy peasy.
- Forks Over Knives app for Apple and Android allows to you meal plan from their own recipe database and also generates a grocery list for you.
GET.GROCERY.SHOPPING.DONE
Keep in mind that groceries can be assembled for pick-up for free or delivered to your door for under $5. This is useful if you are strapped for time, or have mental or physical limitations. Online, you can also save frequently used items, so next time you shop, you are even more efficient.
| Pick-up | Delivery | |
| Save-On-Foods | free | $4.95 |
| SuperStore | $3-$5 | $4-$8 |
| Thrifty Foods | $5 | $5 (assembly fee) + $3-$5 (delivery) |
| SPUD.ca | N/A | free |
Shopping for groceries with your list will help you save time and money.. Some tips:
- If you are looking for a new food or ingredient, ask for assistance right away. Wandering aisles can get old fast.
- If an item is out of stock, remember that recipes are guidelines, and there is almost always a good substitute!
- Grocery shopping takes a bit of time and energy, so try to keep the meal post-shop simple, like this one.
BRING HOME THE GOODS!
Now that you’ve bought your gorgeous produce with your hard earned money, it’s now time to make sure it doesn’t go to waste. The good news is, because you have a plan, you’re halfway there! Tips:
- Place all of your older produce in the left hand drawer and know you’re goal is to use that up first.
- Next, up: prep for the week!
MEAL PREP FOR THE WIN!
Preparing food for a busy period should help you relax around meal times, ensure you’re getting quality nutrition to stabilize your mood, adequate fibre for your gut health and help you save a ton of cash.
Meal prep tips:
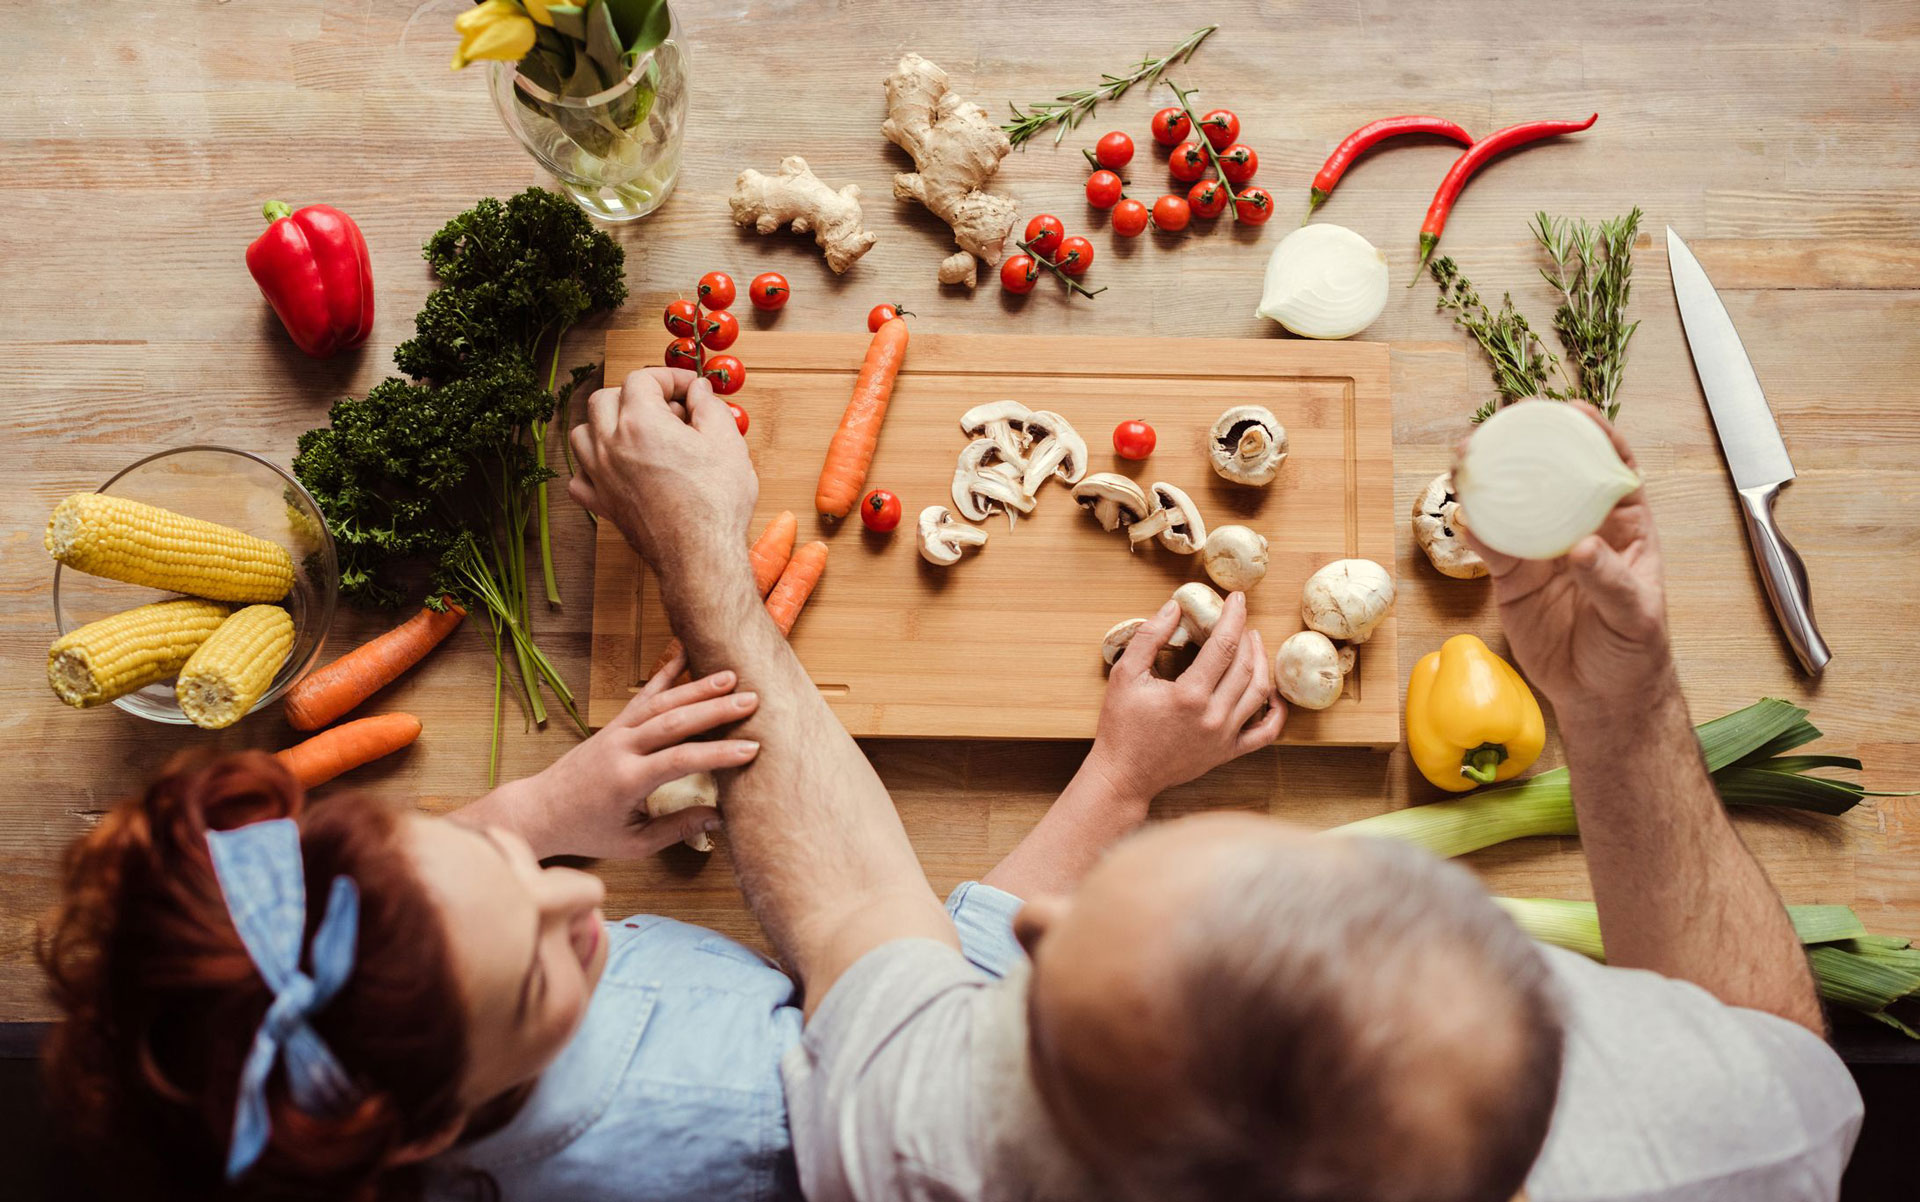
Chop veggies all at once
Take a look through your plan, bust out your cutting board, sharp knife and chop away! Place your chopped veggies in airtight containers in the fridge. This is your food processor’s time to shine! If you don’t have a food processor and you find it physically challenging or tiring to chop veggies, you may want to consider investing in a food processor. If this is not in the budget, pick up frozen veggies as they are usually the perfect, pre-cut size! Otherwise,
Freeze staple foods you use often
Tofu: yes, you can freeze tofu! Stock up on your favorite brand and texture (you can freeze firm or soft) and have it had for a quick mid-week stir fry, or salad. Freezing it also helps create a chewier texture and allows the tofu to soak up marinades easily. How to: press excess water from the block by wrapping it in a tea towel..and pressing, then cut tofu into cubes and freeze on a parchment lined baking sheet. Label and store in a freezing container or bag for up to 4 months.
Grains: When cooking a pot of grains, consider cooking x4 the amount and freezing the leftovers for later use. This can save you time when pulling together a quick grain bowl or soup. Any gran can be frozen after cooking. How to: cook grains, as usual, then spread over a baking sheet and allow to cool for about 10 minutes. Portion your bags, press out any residual air, laying the grains flat so you save space in the freezer and seal. Label with the date and the approximate amount in each bag. I freeze 2-4 cups per bag as that is how much we typically use in our household. Do not thaw in the fridge…this can lead to mushiness. Reheat in the microwave, or right to the pan or soup.
Garlic: do a batch of garlic every 3 months, and you won’t have to deal with tiny garlic peelings in your day-to-day life! How to: peel 5-7 bulbs of garlic (or buy pre-peeled garlic). The peel will come off easily if you smash the garlic with the side of a large knife or put all cloves in a container and shake vigorously. Next, make your garlic paste: mince with a large, sharp knife until it becomes a paste. If you have a food processor, process for about 1 minute. Transfer to a small freezer bag, squeezing out all air, laying flat to freeze. Use a knife to make easy to snap off, 1-inch sections:

Ginger: if you love ginger the way I do, you’re probably running out to buy it every week. Instead, keep a batch in your freezer (for up to 6 months!). How to: follow the same method as garlic: wash, peel (or leave the peel on) mince or process and freeze in small bags or a resealable container.

Written by
Aroga Lifestyle Medicine
Aroga Lifestyle Medicine is a trail-blazing clinic with an multi-disciplinary team that believes that most, if not all, cardiac and metabolic illnesses can be prevented and treated with intensive lifestyle modifications. Using evidenced-based therapies, patients are empowered to experience true healing and wellness.
 Jun 08, 2021
 4
4
- Apr 28, 2021
- 5
- Mar 25, 2021
- 4